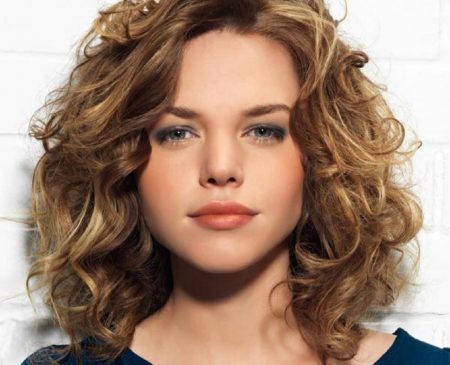
Not every woman is ready to radically change her image by having a short haircut. And ladies with wavy and curly hair have to choose the type of haircut more carefully to achieve the perfect image.
How to trim long curly hair
Beauty Blog
Not every woman is ready to radically change her image by having a short haircut. And ladies with wavy and curly hair have to choose the type of haircut more carefully to achieve the perfect image.
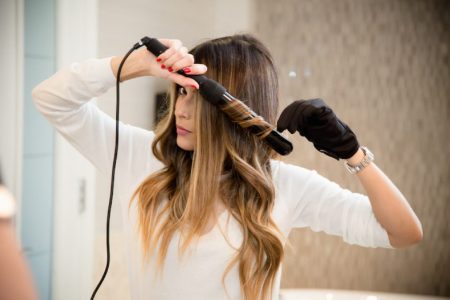
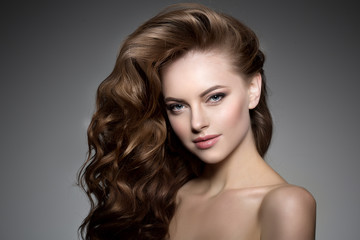
Long hair is always wonderful. They create feminine and romantic looks. They are gathered into elegant hairstyles, form careless bunches or openwork braids as well as curl and style. The curls look shimmering and exciting. They can be symmetrical and neat or arbitrary. Trending are both large curls and small, round, sharp, jagged. Wet styling, curling with a flat iron, braiding and with the help of curlers are topical. We propose to consider in detail and comprehensively ways to create the ideal styling for long hair.
Medium hair is the golden mean in the world of hair. It takes not so much effort to make it look good than the long hair and it is easier to style than the short hair. Sometimes medium length is not enough for complicated updo hairstyles, but there is still a great number of variations to try.
=&0=&
This list of top 5 updo hairstyles for medium hair gives women an opportunity to spend less time with their hair every morning. Every hairstyle is very simple and needs only bobby pins, elastics and just a bit of creativity.
Busy women spend not so much time with their hair, but they still have to look good all the time. This is the reason they prefer medium hair. Mid-length hairstyles have a lot of variations of simple updos that are super easy to do when it is needed. Every woman can find the right for herself.
There is a huge amount of extra easy updo hairstyles that are wonderful for everyday and even meetings with friends or colleagues. They are super easy to do and need not so much time to style. Here are top 10 updo hairstyles for long hair to try described in the article. They are so simple that anyone can try them out on their own.
=&0=&
Updos are extremely fancy and fit to every situation from comfy evenings at home to night out parties. Only things to master all these styles below are hair pins, elastic bands, combs and hands.
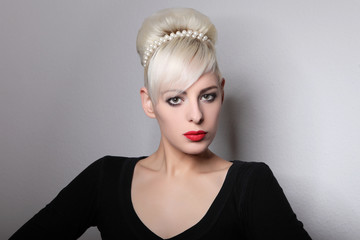
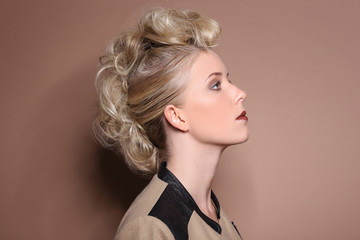
=&1=&Unfortunately, it is impossible to create big bun from thin hair without special accessories like bun roll or others. But the solution is a messy twisted bun. It looks pretty and adds some volume to thin hair.
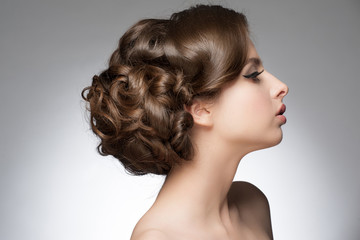
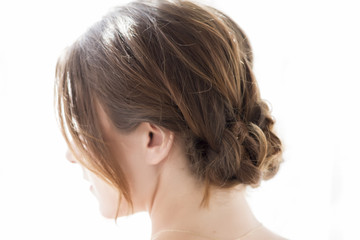
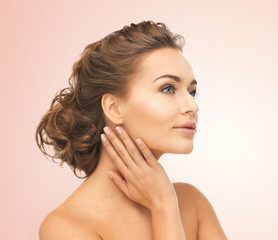
=&2=&Super sleek low back bun looks rich and gentle, but a bit boring. It looks much more interesting with curled hair, because a little messiness at the back and loose locks at the sides of the face add a romantic hint to the whole look and make it softer.
=&3=&There are two variations of it: to make a bun from braids that are all over the head or from braid only at the tail part.
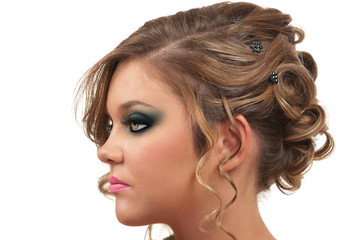
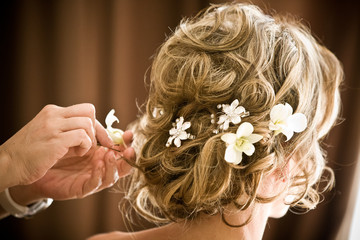
=&4=&This is a first class aesthetic and rich hairstyle for formal occasions that makes every woman feel like a queen.
=&5=&What could be easier than messy curls pinned and twisted all over the head in a random way? Experiments are allowed here.
=&6=&Regular ponytail could be more than just a trivial hairstyle. Puffed layers at the top of the head turn a simple ponytail to an interesting easy hairstyle that looks elegant and suits for office days.
=&7=&Dutch braids are on the highest point of their popularity now and they are a perfect comfy updo for warm days and insta photos.
=&8=&They look like braids, but they are created from simple ponytails. An easy way to try a new look in just few minutes. A great variant for thin braids to look thick.
=&9=&A simple low back ponytail twisted in several times depending on a hair length create an easy and cozy bun without difficulties.
=&10=&Three messy braids wrapped all around themselves into lovely roses make together a cute updo for any hair length.
Longer hair is really a challenge, because of high-maintenance women with long hair mostly prefer regular ponytails to get rid of it. But there are some interesting variants of simple updos to try for girls not only with long, but also a mid-length hair.
Updos are splendid designs. If you are an elegant female, you have to choose such a design. You will like such a design. It is very comfortable to wear. It can be a fine option for work or for a visit to a restaurant.

=&0=&
There are many hairdos you should try. Much depends on what type of strands you have. If you have thin ones, you can develop beautiful buns or ponytail. If you have thicker strands, you will be able to get more sophisticated hairdos.
It is not possible to find a favorite pattern from the first time. In this case, you have to experiment more. If you get several designs you will be able to choose your best one. Here are some cool updos for women with thin hair:
These are interesting updo designs. Think about them and choose yours. Such hairstyles look very elegant. You will love to wear them.
=&1=&
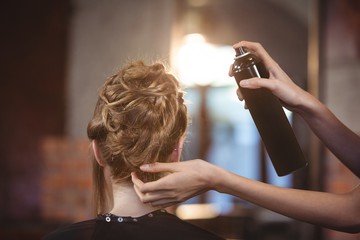
There are a lot of types of hairdos. If you use styling to any hair design, you will get a nice evening look. Put some gel on strands. If will fix them. It’ll make a look more luxurious.
Hair glitter can help to create a unique look. You can put some. Choose glitter color that can match tone you have on clothing. It will help to create more harmonious look.
The more you work on a personal style, the better. You should develop new ideas. It is important not to be afraid to experiment.
So, if you have a short haircut you can try doing hairstyles similarly to what Selena Gomez, Taylor Swift, Julianne Hough, Jessica Alba and others demonstrate on red carpet.

If you have a short haircut, you need to add a lot of texture before doing a messy updo. Use a dry texturizing spray.
Now you know how to create a red carpet worthy hairstyles at home without having professional styling skills.
Updo hairstyles are something you can’t go without if there is a heat challenge outside. In summer and fall when the weather is warm enough to not allow you to wear your hair down all day long because of the extremely high temperatures, go for an updo. It is easy, fast, and doesn’t require special styling skills.
The next three hairstyles are very simple and easy. You can try them even if you have straight hair. Just don’t forget to curl it in advance.They are perfect for those days when you try different hairstyles but nothing works out. Try one of the following updos to get great hair fast.
Try styling curly hair in a new way. Go for a romantic and creative updo.